Good Morning!
The week is winding down and so am I. Today I thought it would be fun to look at an easy and relaxing jewelry-making craft, Wire Wrapped Rings. Yes, I said, relaxing. This is actually a really fun and super simple project. Even the kids can do it! One of the best things about this project is that it takes just minutes to do.
 | |
| Wire-Wrapped Rings in Sterling Silver plated Copper jewelry wire |
I think every jewelry blogger, designer, maker, or hobbyist, eventually sits down to write about or make one of these simple and pretty little rings. This includes myself.
All you need:
Jewelry Wire - *20 or 18 gauge (any type) Colored (anodized) Aluminum works well, too.
(*I do not recommend 16 gauge or 14 gauge)
Wire Cutters
Permanent Marker or Lip Balm (or any round object - a "mandrel")
Measuring Tape
Pliers - if you like.
*Extra Embellishments (not necessary, but fun to play with).
Button
Glass Seed Beads (Size 6)
NOTE: Jewelry wire comes in lengths measured in yards, usually between 8 to 10 yards per coil, that's 24 to 30 feet of wire. You can make lots, and lots of rings with a single coil. The Sterling Silver Plated Copper jewelry wire I used for this project is packaged by Darice and available at local craft stores for about $3.99 for 8 yrds.
 | ||
| Simple Tools and Wire |
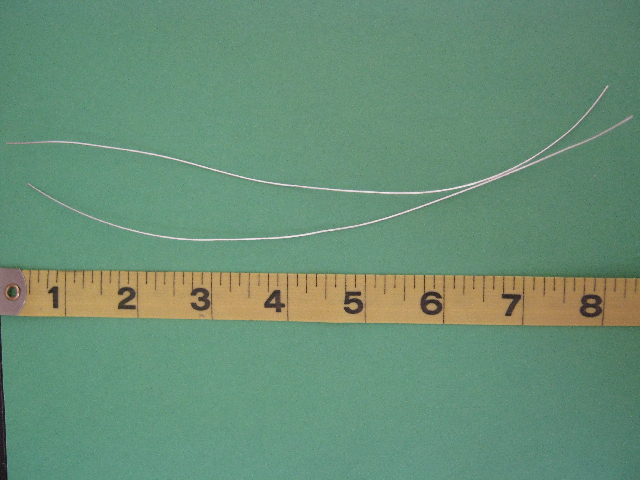
First measure and cut two pieces of wire 8" long.
Gently fold them in half.
 | |
| Don't let the ends cross. |
Put them together and place the marker, balm, or other round object ( "mandrel" about the size of your finger), in the fold. Bend the wires around the marker or balm with your fingers.
 | |
| Don't let the ends cross, keep each wire next to each other. |
Next, Adjust the wire where you want it. *Remember it will be a little looser at this stage. That is OK. With your fingers, hold the bottom of the wire against the madrel, with your other hand, take the wires between your fingers and twist in a clockwise motion, locking the wires together (like a twist tie). Keep the wire as tight as possible against the mandrel as you twist. Twist only once.
 |
| Twist the wires once, clockwise. |
You may take a pair of pliers or your fingers and bring (pinch) the loops together.
Now continue to twist the wires, one group of two at a time around each other twice or three times. Stop. Can you see the "rosette" forming in the center of the ring? Good.
 | |
| The Rosette is formed and wires are divided. |
Now, divide the wires. Decide which wires will continue forming the rosette and which to pull away from the center. Do not cut the wire. Above the wires closest to the rosette have been left in place, the others have been stretched out and away from the center of the ring.
Continuing wrapping around the center wire forming a larger (or smaller) rosette as you choose.
 | |
| The Rosette is complete, the wrapped wire is now much shorter. |
Trim the excess wire from the Rosette. You may wish to leave a little extra to bend over and tuck under the edges of your ring. I did not do that in this example. However this helps to keep the wire from snagging and possibly ruining the ring.
Next, and this can be a little tricky. Remove the ring from the madndrel, choose one side of the ring and begin wrapping the other length of wire around the shank (round part) of the ring. It helps to bend the wire slightly so it slips into the center of the ring. Wrap the wire down the shank. Make sure to wrap both sides. This will help the ring keep its shape, make it a little smaller in diameter, and adds an interesting design element as well.
 |
| One side is of the shank wrap is complete here is the other side in progress. |
Make sure that the wire ends are on top of your ring shank, cut off the excess wire, keeping the ends up and away from your skin so you do not scratch yourself.
 |
| The complete ring on the marker (mandrel). |
You can wear the ring on any finger it will fit on or that you have sized it for.
 |
| Pretty little bauble |
 |
| Completed ring. |
You can also bead the last twist of the wire around the rosette if you like or you can use a button as a focal point. As shown in the alternatives below.
 | ||
| Black Czech Glass Seed Beads adorn the side of the rosette. |
 | |
| Shell Button Ring |
The button ring is made using the same technique. Once the wire has been placed around the mandrel, side the wire through the thread holes in the button. Bring the button down as close as you can to the mandrel, and then twist the wires together. Instead of separating the wires and wrapping them down the shank, use all four to form the rosette in the center of the button, cut off the excess wire and wear for fun or with Kitschy fashions!
 | |
| Reddish-Orange Shell Button with complete rosette |
There are many other ways to add to or embellish the ring. Why not try glass bi-cone beads or a gemstone or maybe even a crystal. Perhaps a charm or other interesting object, like a gear or tiny vacuum tube could be wrapped as well. The possibilities are endless. What might you design?
T.A.V. would like to thank Carrie S. for the use of her camera.
T.A.V. would like to thank Carrie S. for the use of her camera.
Thank you for stopping in and having a look. We hope you found this tutorial interesting and will try a wire-wrapped ring of your own.
The Alchemists Vessel would like to wish you a pleasant Thursday.
No comments:
Post a Comment